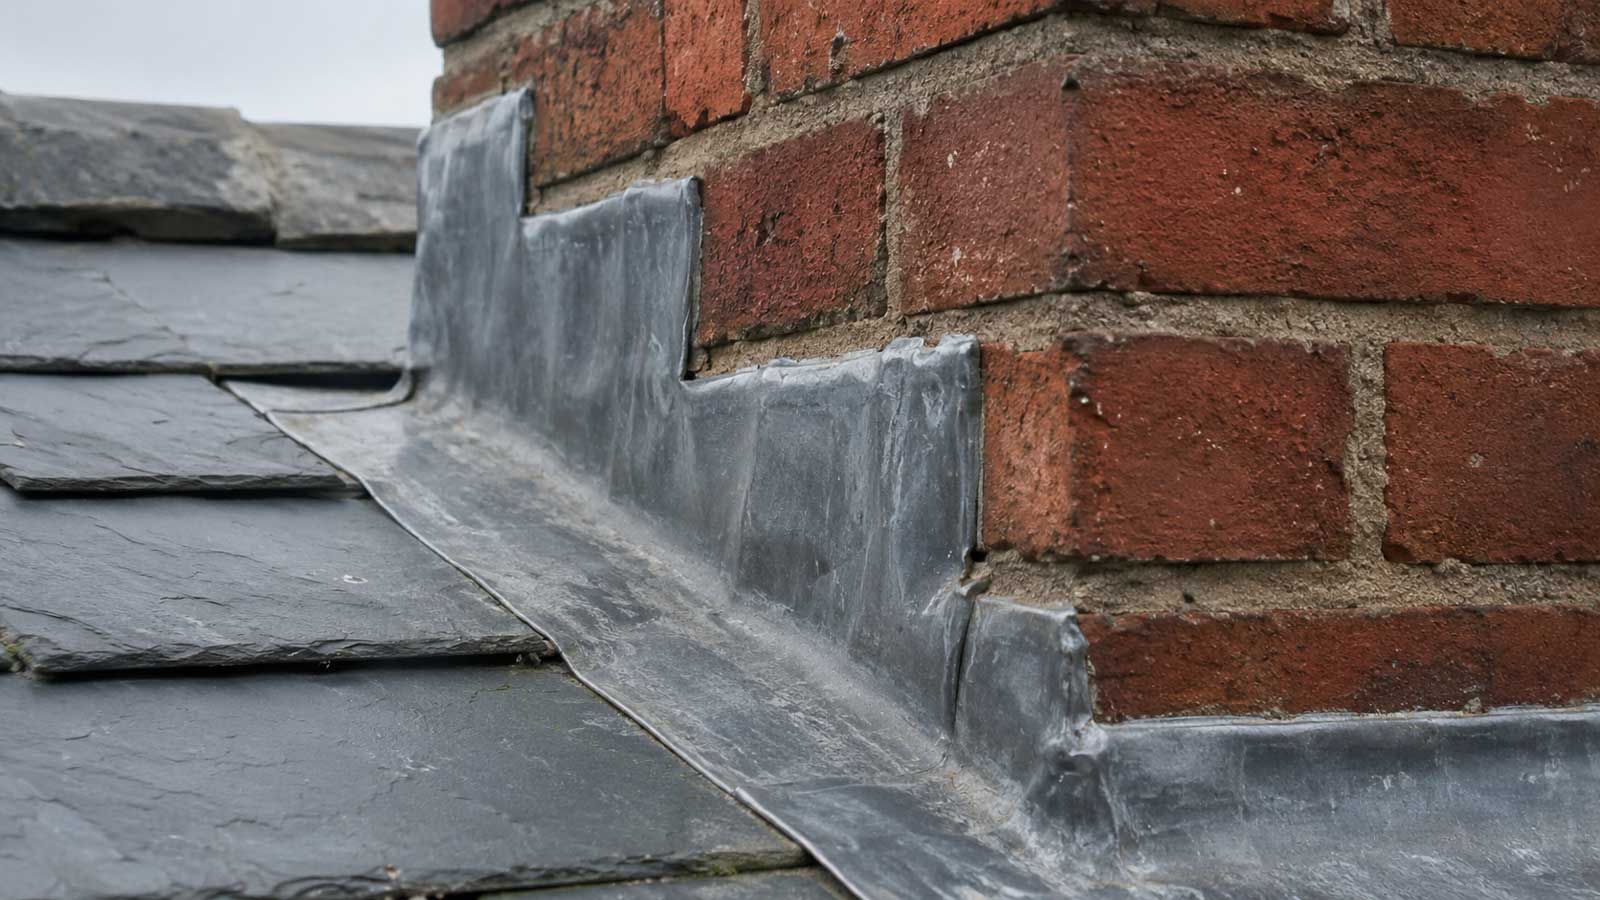
Where lead is used
You will commonly find lead where a roof meets a chimney, wall, dormer or change in level. The detail usually works in layers: part of it sits beneath the roof covering and part turns into or over the adjoining masonry.
A short exposed strip may be only the visible piece of a larger arrangement. Before repairing it, find out how water is supposed to pass over and around the joint.
Movement causes trouble
Lead expands and contracts. Long runs need to be detailed so they can move without tearing around fixings or corners. Cracks often appear where a piece has been stretched, pinned too tightly or made too long.
Small local splits can sometimes be repaired. Widespread fatigue usually calls for replacing a section with correctly sized pieces.
Photograph the area before work starts if you can do so from a safe position. It gives you something concrete to compare with the finished repair.
Mortar joints matter too
A sound lead flashing can still leak if the chase or pointing above it has opened. Conversely, new pointing will not cure a split beneath. Both parts need looking at together.
On chimneys, the rear detail can be the hardest part to inspect from ground level. Photographs taken from safe access are useful evidence before agreeing the scope of work.
Avoid incompatible quick fixes
Some mastics and coatings do not age at the same rate as lead and can trap water at edges. They also make later soldering or replacement harder.
If a temporary emergency seal is used, treat it as temporary and keep a record of where it was applied. The permanent repair should restore the original drainage detail.
Need somebody to look at the roof?
If you want to ask local contractors about the repair, describe the symptom and include anything you have noticed about the weather or the part of the roof involved.
Request roofing quotesQuote requests are provided by MyJobQuote, an independent third-party service.